 |
| The End Result of this Zero Two Journey |
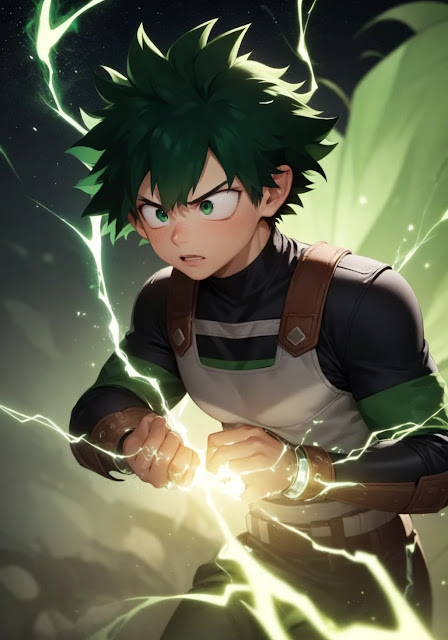
Hey there. If you've been following me on my socials, you probably noticed that I've been posting a lot of AI generated art recently. I've been pretty hooked on it and I'm pretty sure it's because my creativity and ingenuity (more on that later) are exercised on each session. For my art sessions, I am using Stable Diffusion to generate art. As a quick overview, Stable Diffusion is an open source AI program that will turn text to images. So if you write in, "girl walking through a flower field" in the prompt, the program will churn out an image of a girl walking though a flower field. BUT... because this is AI, the image will be very basic. The more details you add into the prompt, the more likely you'll get the image you want. I'm relatively new to this but I am amazed at how you tweak the text to morph the image until you get what you're looking for. So now that I've been doing this for the better part of 2 weeks, I've gotten pretty good at getting images that come pretty close to what I envision. Well... at least I think I so. lol Anyways, I won't bore you with the technical details of how I created the art in this post but I will give you the basics of what I did and why I did it. I'll provide you with what I added, removed, emphasized, and de-emphasized in the prompt to change up the image. So without any further delay, let's take a look at the journey and deep dive into the AI generated images that I went through to create this amazing image of Zero Two.


